
Taking Coin Photos
I often find that it would be great if I could take pictures of my coins. Not for myself, but to post them on the blog to better illustrate what I’m writing about, or to show certain coins to others. So far, I have restricted it to what I really needed and asked my wife to help me with it. Well, to do it for me. This works, but just like so many things in collecting, I was looking for a way to do it on my own without help. In this post I will document the possibilities and limitations of creating coin photos, and my progress of starting from the idea to taking it to completion.
I am not looking to become a coin photographer. Simply, I would like to take it to a point where I would be able to successfully share pictures. I am also ok with the idea that my pictures will look like a blind guy took it, even if there is a way to create professional photography, I think it would take so much effort that it is not worth for what I’m trying to do.
There is an easier way of doing it, I can use a scanner, define the scanning region, which is very easy since I know the diameter of most coins, and scan the page. Here is an example. 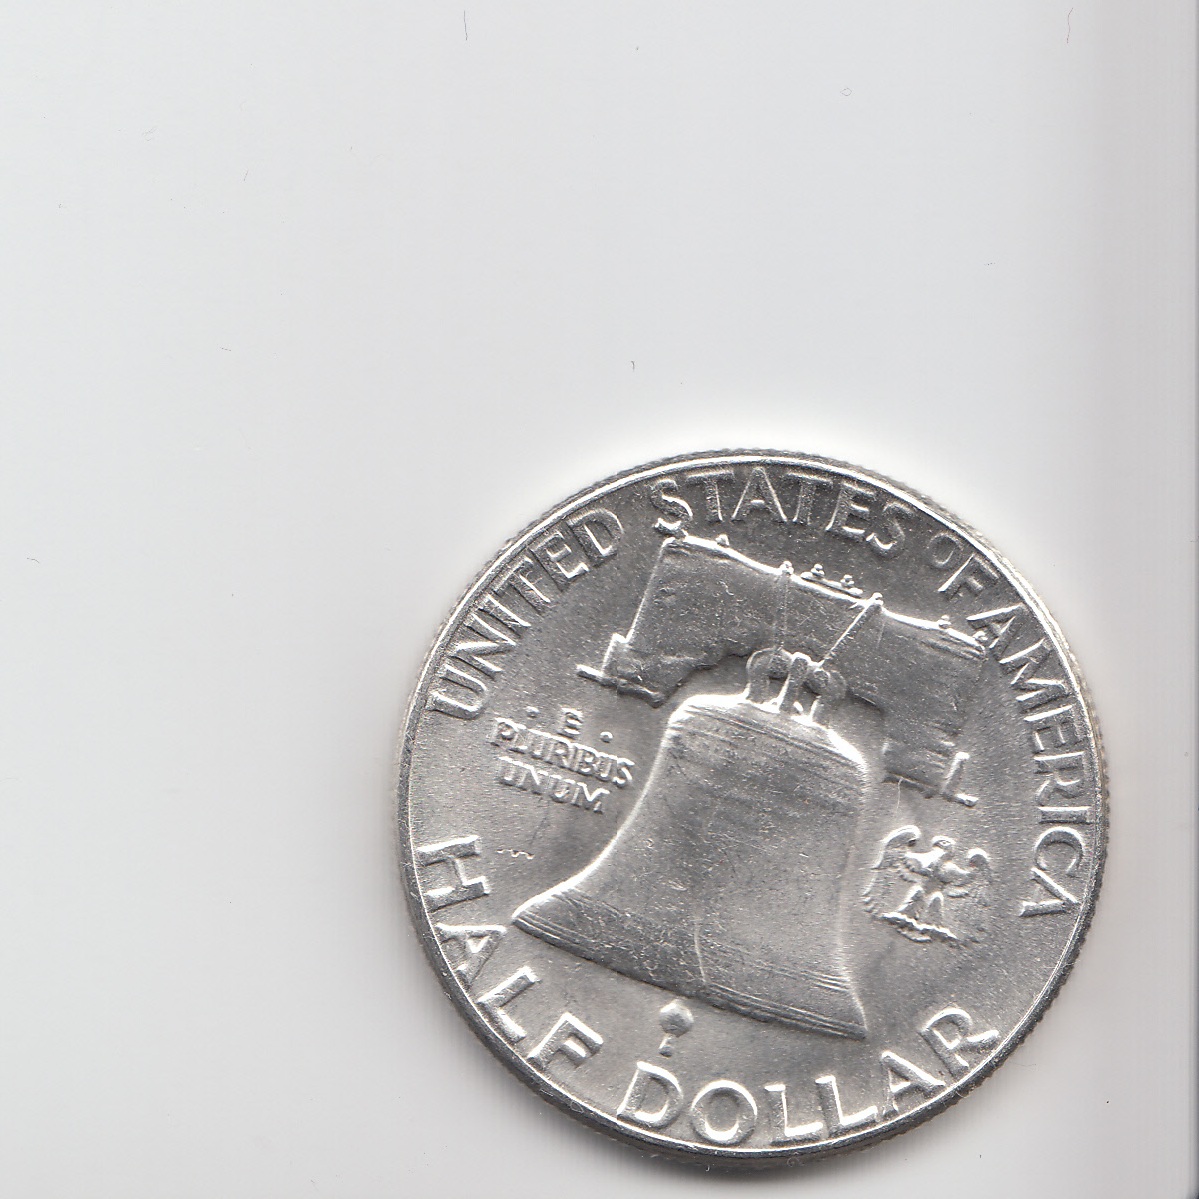 There are two reasons why I don’t find it the best solution. First, this restricts me to using a computer and a scanner, which is relatively difficult to carry around. Also, I believe that using photos I could create nicer pictures in a shorter amount of time, if I had a reliably working system.
The challenges
The biggest difficulty in taking a coin picture is that I have no idea how it turns out. I need a solution that allows me to set up an environment in a way that I can expect that the picture I take will look reasonably good without having to ask for feedback.
This requires a lighting which is completely reproducible. The time of the day alone, when I take the picture would have an effect on the quality, so I was looking for an enclosed environment where I can eliminate this factor.
I need a stand and a set location for the coin where I know that just by taking the picture, I will be able to capture the entire coin, no matter how small or large it is, approximately at the center.
I need to know that the picture will be detailed enough so that coin collectors can appreciate it, since mostly I would share the pictures with people who have a greater than average interest in coins. I don’t necessarily want to communicate the exact quality of the picture, but it would be important that on an at least average looking coin the text will be readable and the pictures recognizable.
Assumptions
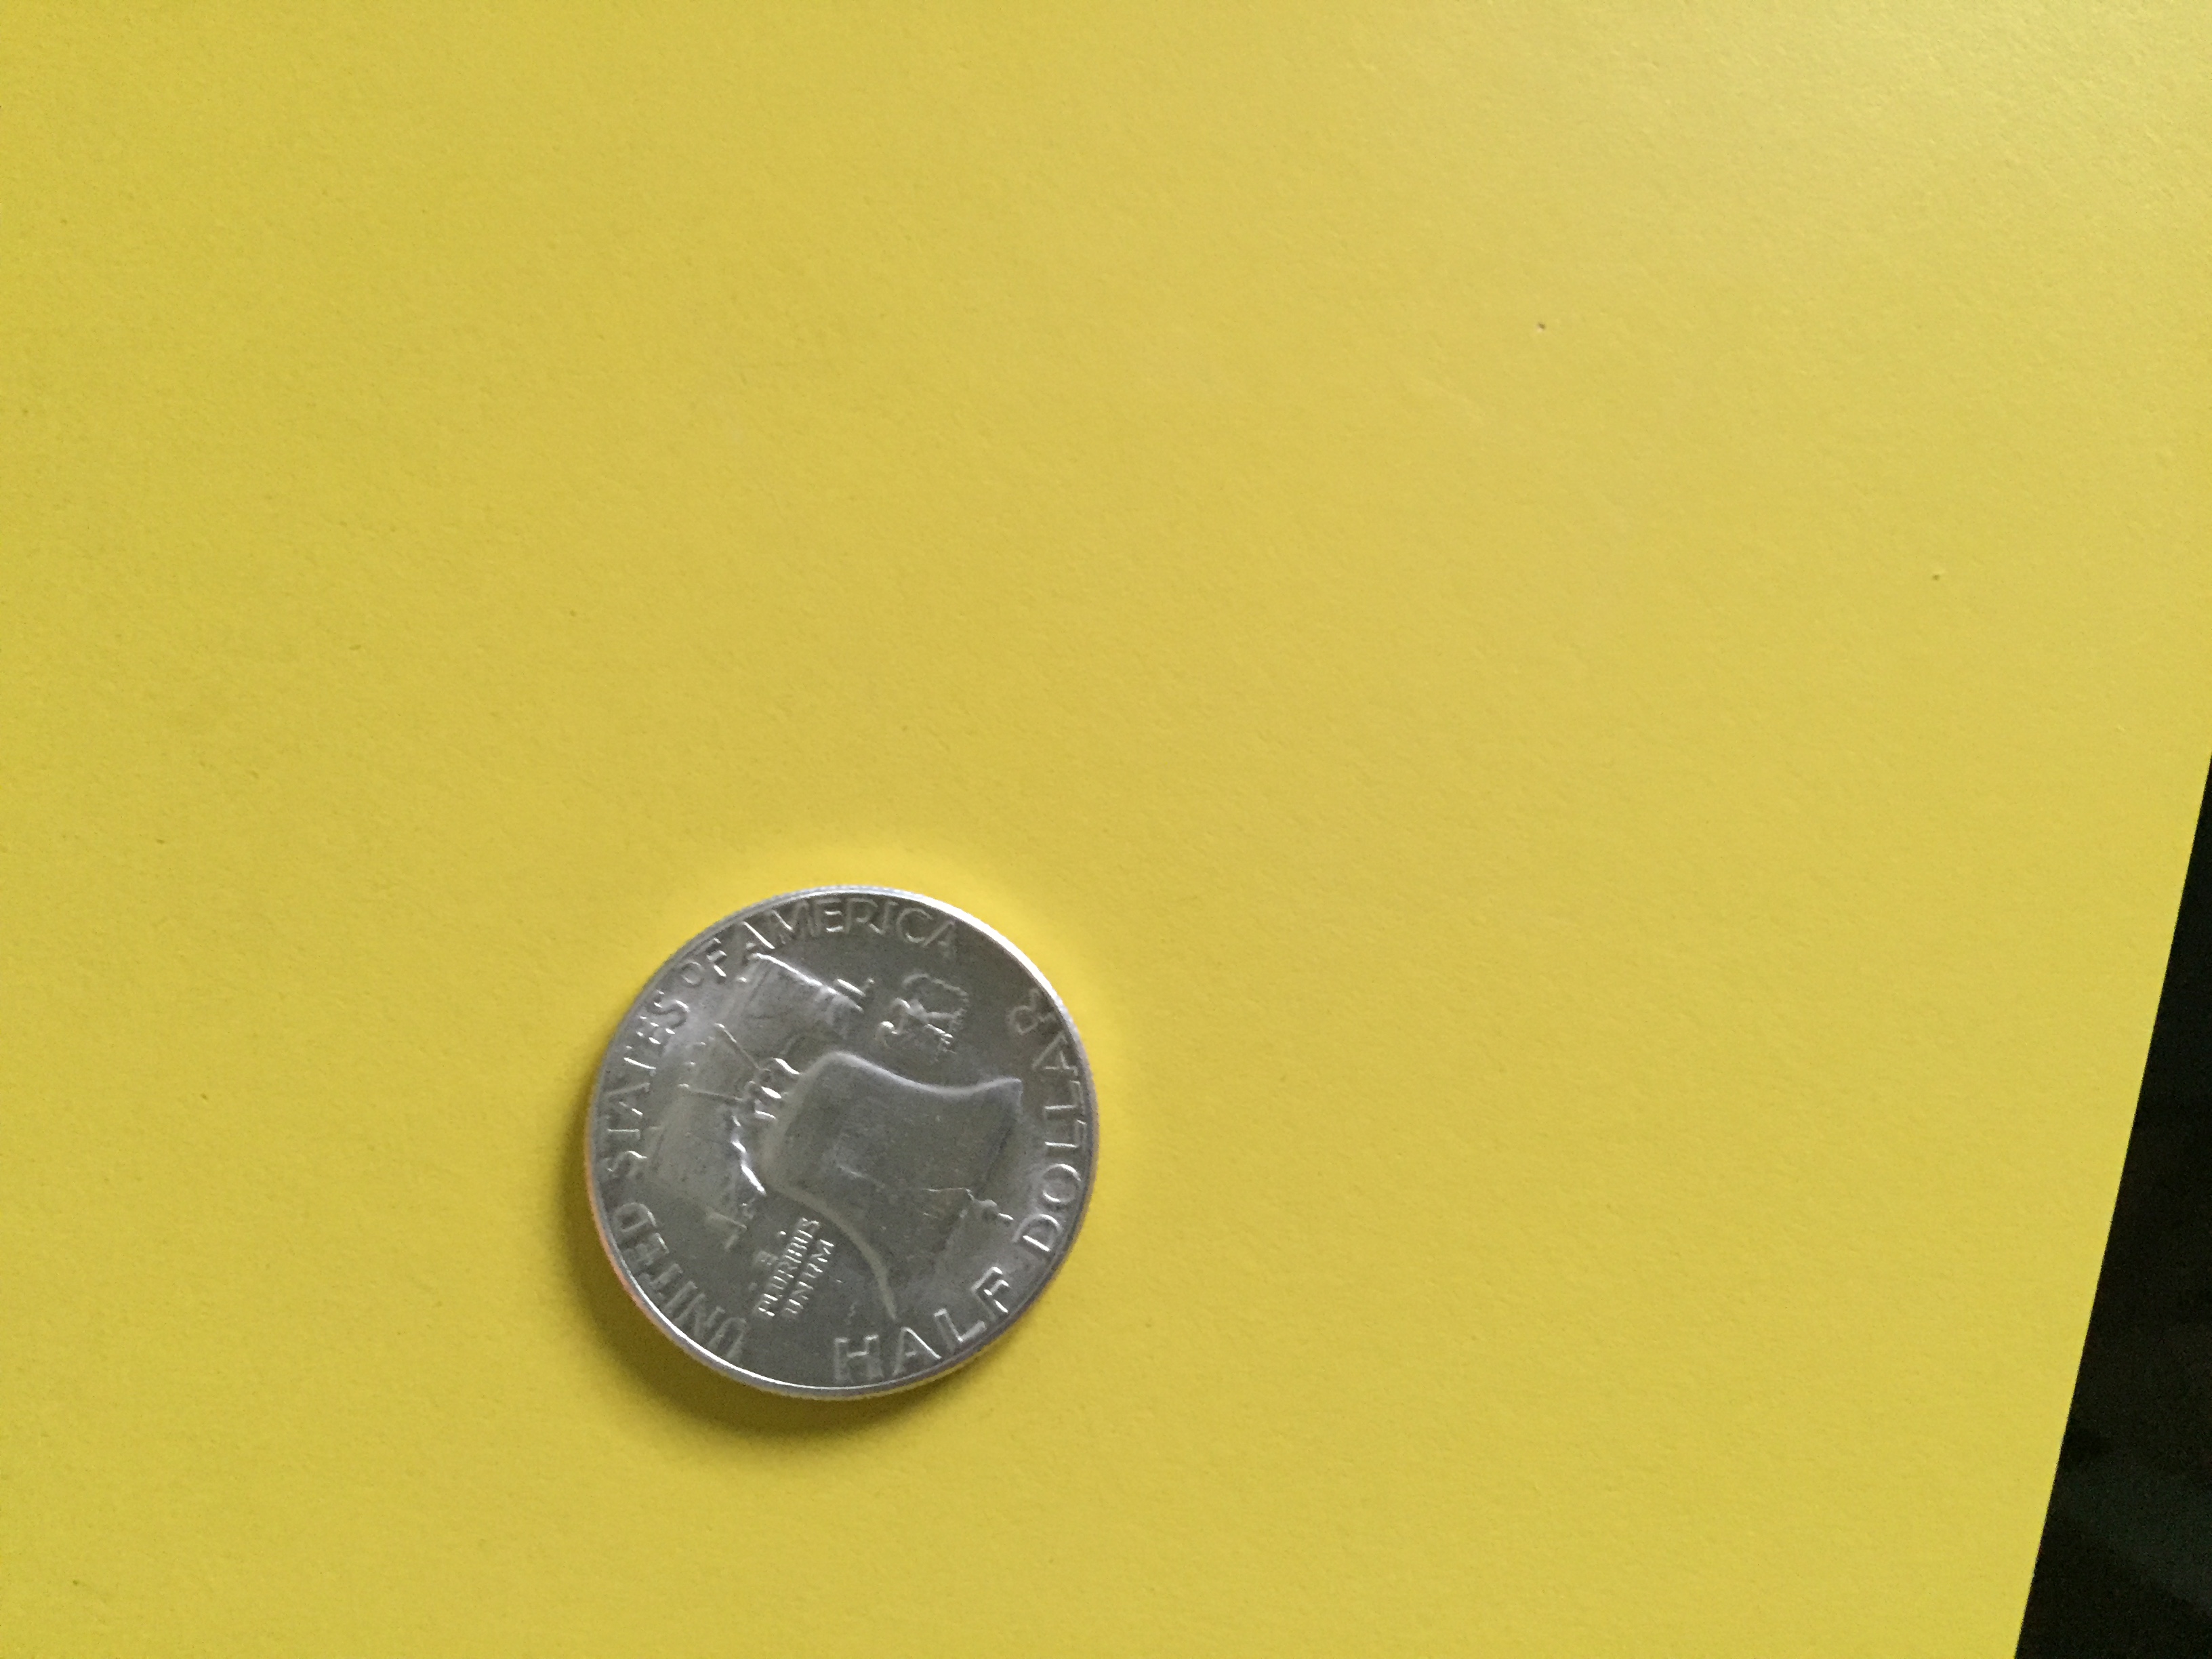
Originally I thought it would be much easier than what it really is. Wrongly, I assumed that I need a dark place, good lights (I thought that’s what the flash is for), and I’m ready to snap the picture. For the most part, I was able to photograph a coin well enough to recognize that it was a coin, but the results weren’t good enough to call it useful. I often sent coin pictures to friends asking them what they can see on the coin, but in most cases they weren’t able to see anything because of the photo quality.
This is a better than average example:
As I started to play around with the initial pictures, I also realized that I need to carefully select the apps I will use. The first obstacle was that on the iPhone’s default photo app, I was not able to label the pictures, which can easily get out of hand trying to remember what’s what. For the purposes of this discussion, I will spare you from a lengthy discussion of what I tried, but after I tried many apps, I have decided to sync my phone with Dropbox and rename each image right after taking the picture. Not the most elegant solution, but after trying about 5 different options this seemed to be the fastest way of labeling photos. I found an app that can help me speed up this process as well.
The next problem I was facing is what is a good enough quality that serves the purpose. Where is the point when the picture is good enough to use. At this point, I found that it is inevitable to start learning basic concepts. Obviously this is the case for all people who want to take good pictures, but while people who can see it can do it by trial and error, I needed to understand the exact parameters I need to work with.
This was challenging, because I was encountering concepts which make sense to most people, but I will never understand it, all I can do is learn it.
The first concept was resolution. I thought that once I am able to get the whole coin on the picture, the higher the resolution is, the better the picture will turn out. Well, wrong. The first roadblock was that I needed to place the coin very accurately to take a good picture. Along the way, I learned that lenses with different focus make a difference, and possibly a better lens would be more forgiving. This was the point when I started to understand why people are using a camera these days when a phone has a good quality camera built in.
When I started reading more about it, the more obvious it became that a photo has so many other factors. I was reading about zoom, aperture, contrast, background, etc.
I found definitions and explanations of all concepts, but it was difficult to understand. To me, not being able to see but working in the IT industry, a photo means an area composed of dots, each dot with the parameter of its color. But it is not all that simple. I still don’t understand how three dimension objects can be represented, what is the depth of an object, how the light makes it difference.
I was reading about different filters that can be applied to a photo, but none of these made practical sense. There is even information about which filter can be used in which situation, but it requires two things: being able to recognize when a filter is needed, and have some kind of a feedback if the filter improved the picture. Since I cannot do any of these, I finally decided to stay away from photo editing, rather, create an environment where the outcome is good enough that it doesn’t need any adjustments.
Setting up the environment
After trying to set up an environment just by using office supplies, I realized that I needed something more complex. I got a photo box, which was designed to take pictures of small objects. It is a tent with only one side open, with a black background. The box came with different color replaceable backgrounds, black is for the sake of simplicity. It also comes with a stand, which holds the phone or camera, and can be adjusted in any direction. I can position the phone very close to the coin, directly above it. The set also contains two lights. This way theoretically the daylight can be eliminated, and once the lights are set up the right way, it is relatively easy to disassemble the box and set it up the exact same way and get the same results.
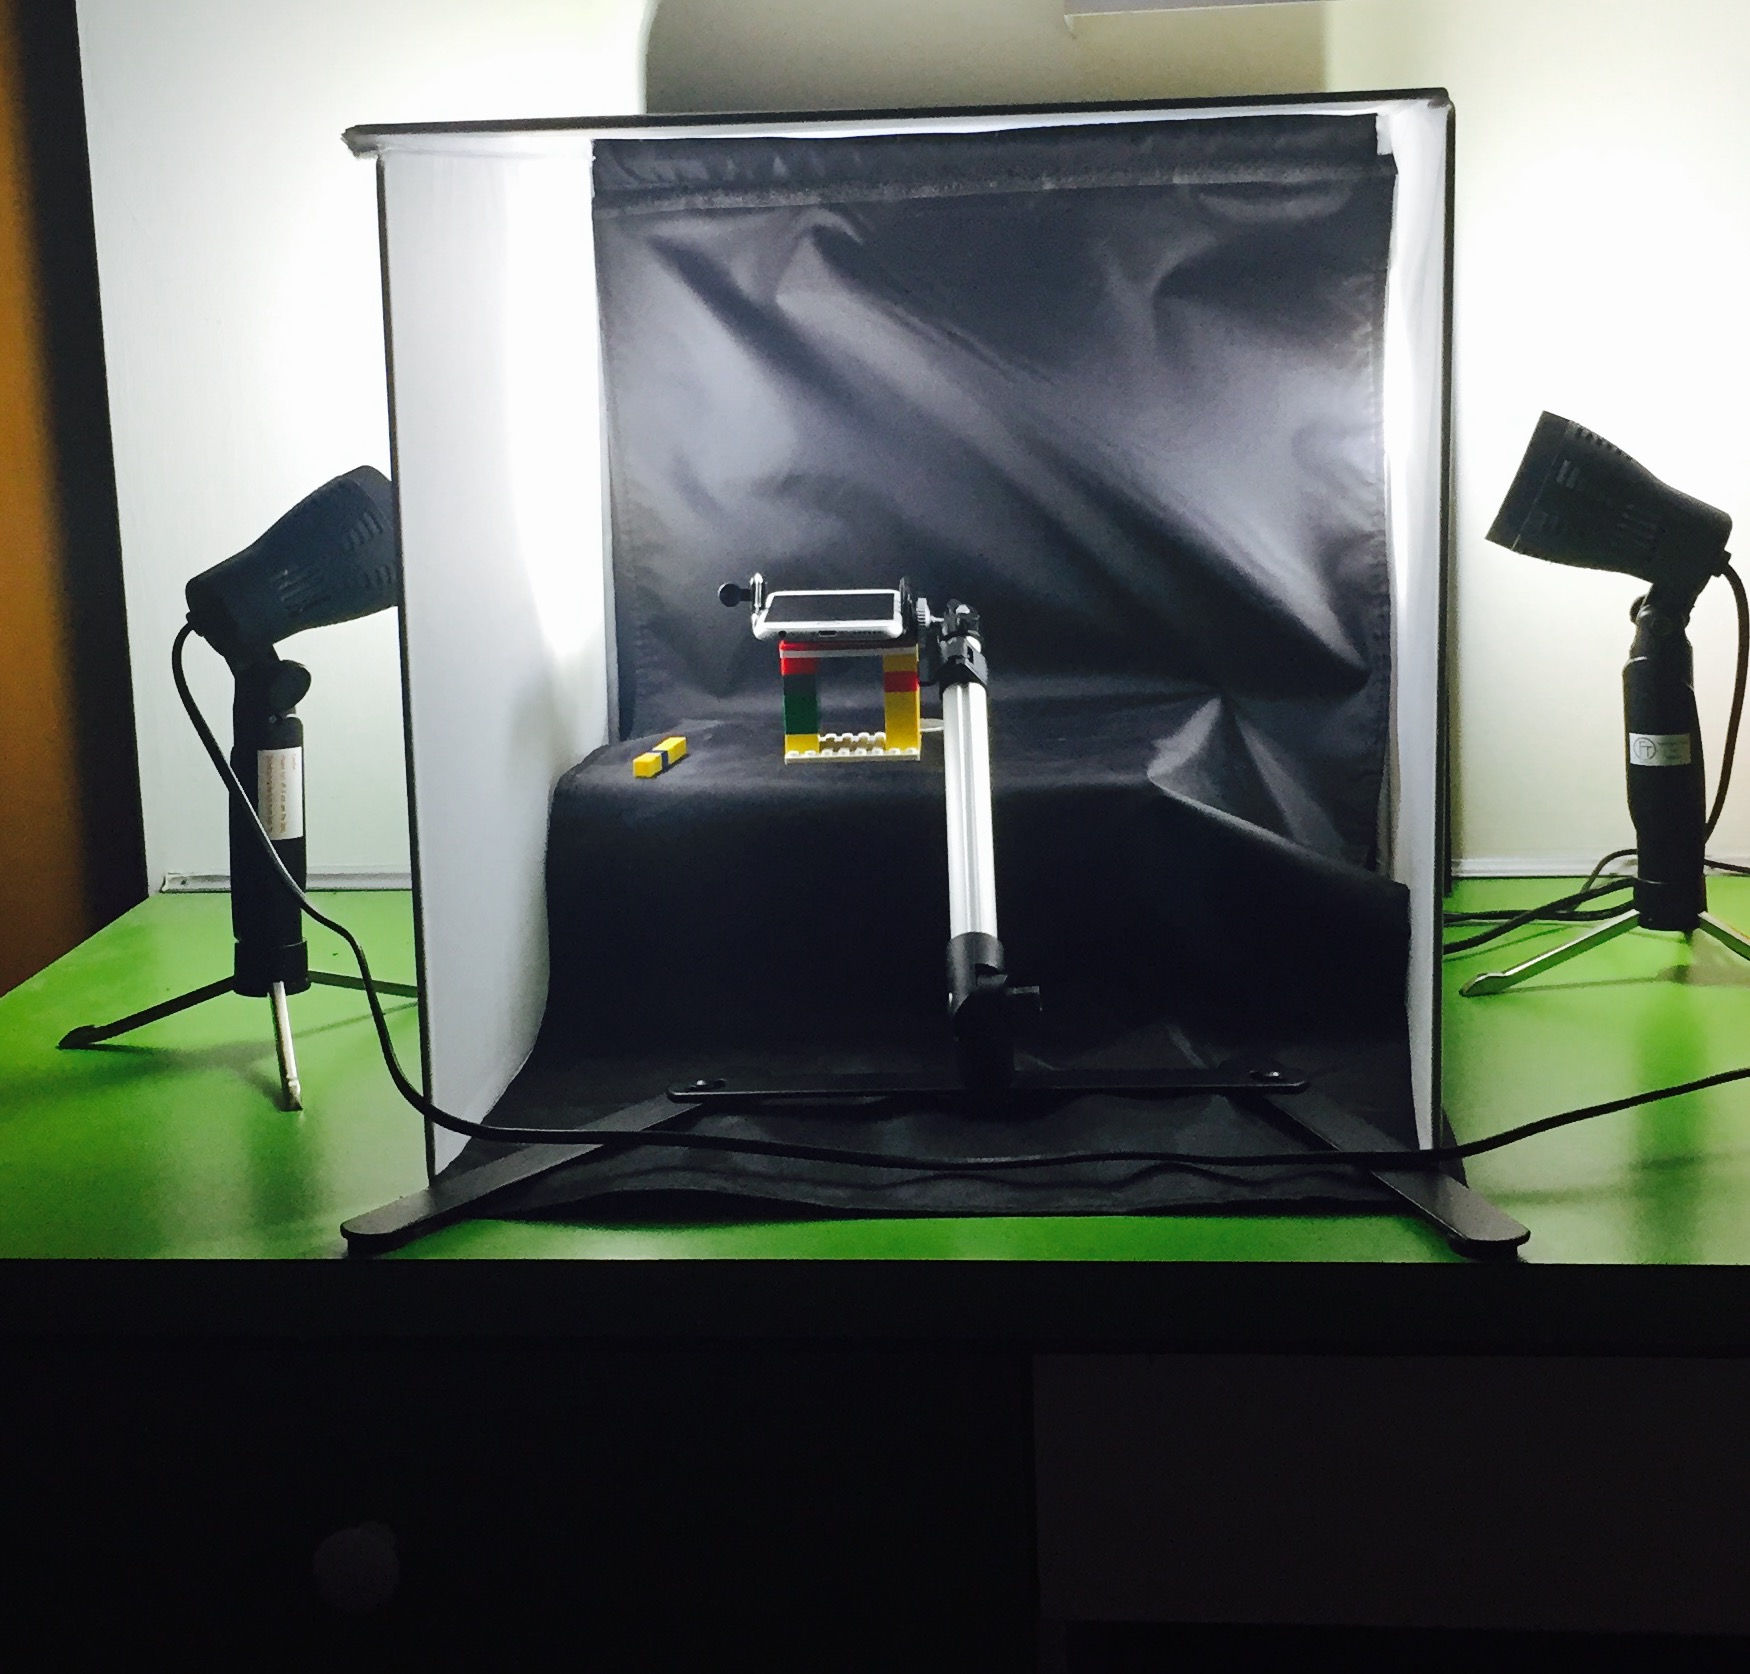
It could have been possible to create such a tent from the fraction of the cost, but the advantage of buying one was that it has been tested for exactly what I it to do. The lighting which is sufficient for the area, the material which will let enough, but not too much light through, and the combination of colors, these are all factors which I wouldn’t be able to put together.
So, I had the stand in an ideal lighting. The picture didn’t turn out too well, it was far from the camera, so I needed to elevate the surface with a couple of boxes. Now the coin was close to the camera, which meant that if it wasn’t accurately centered, part of the coin was missing from the picture. 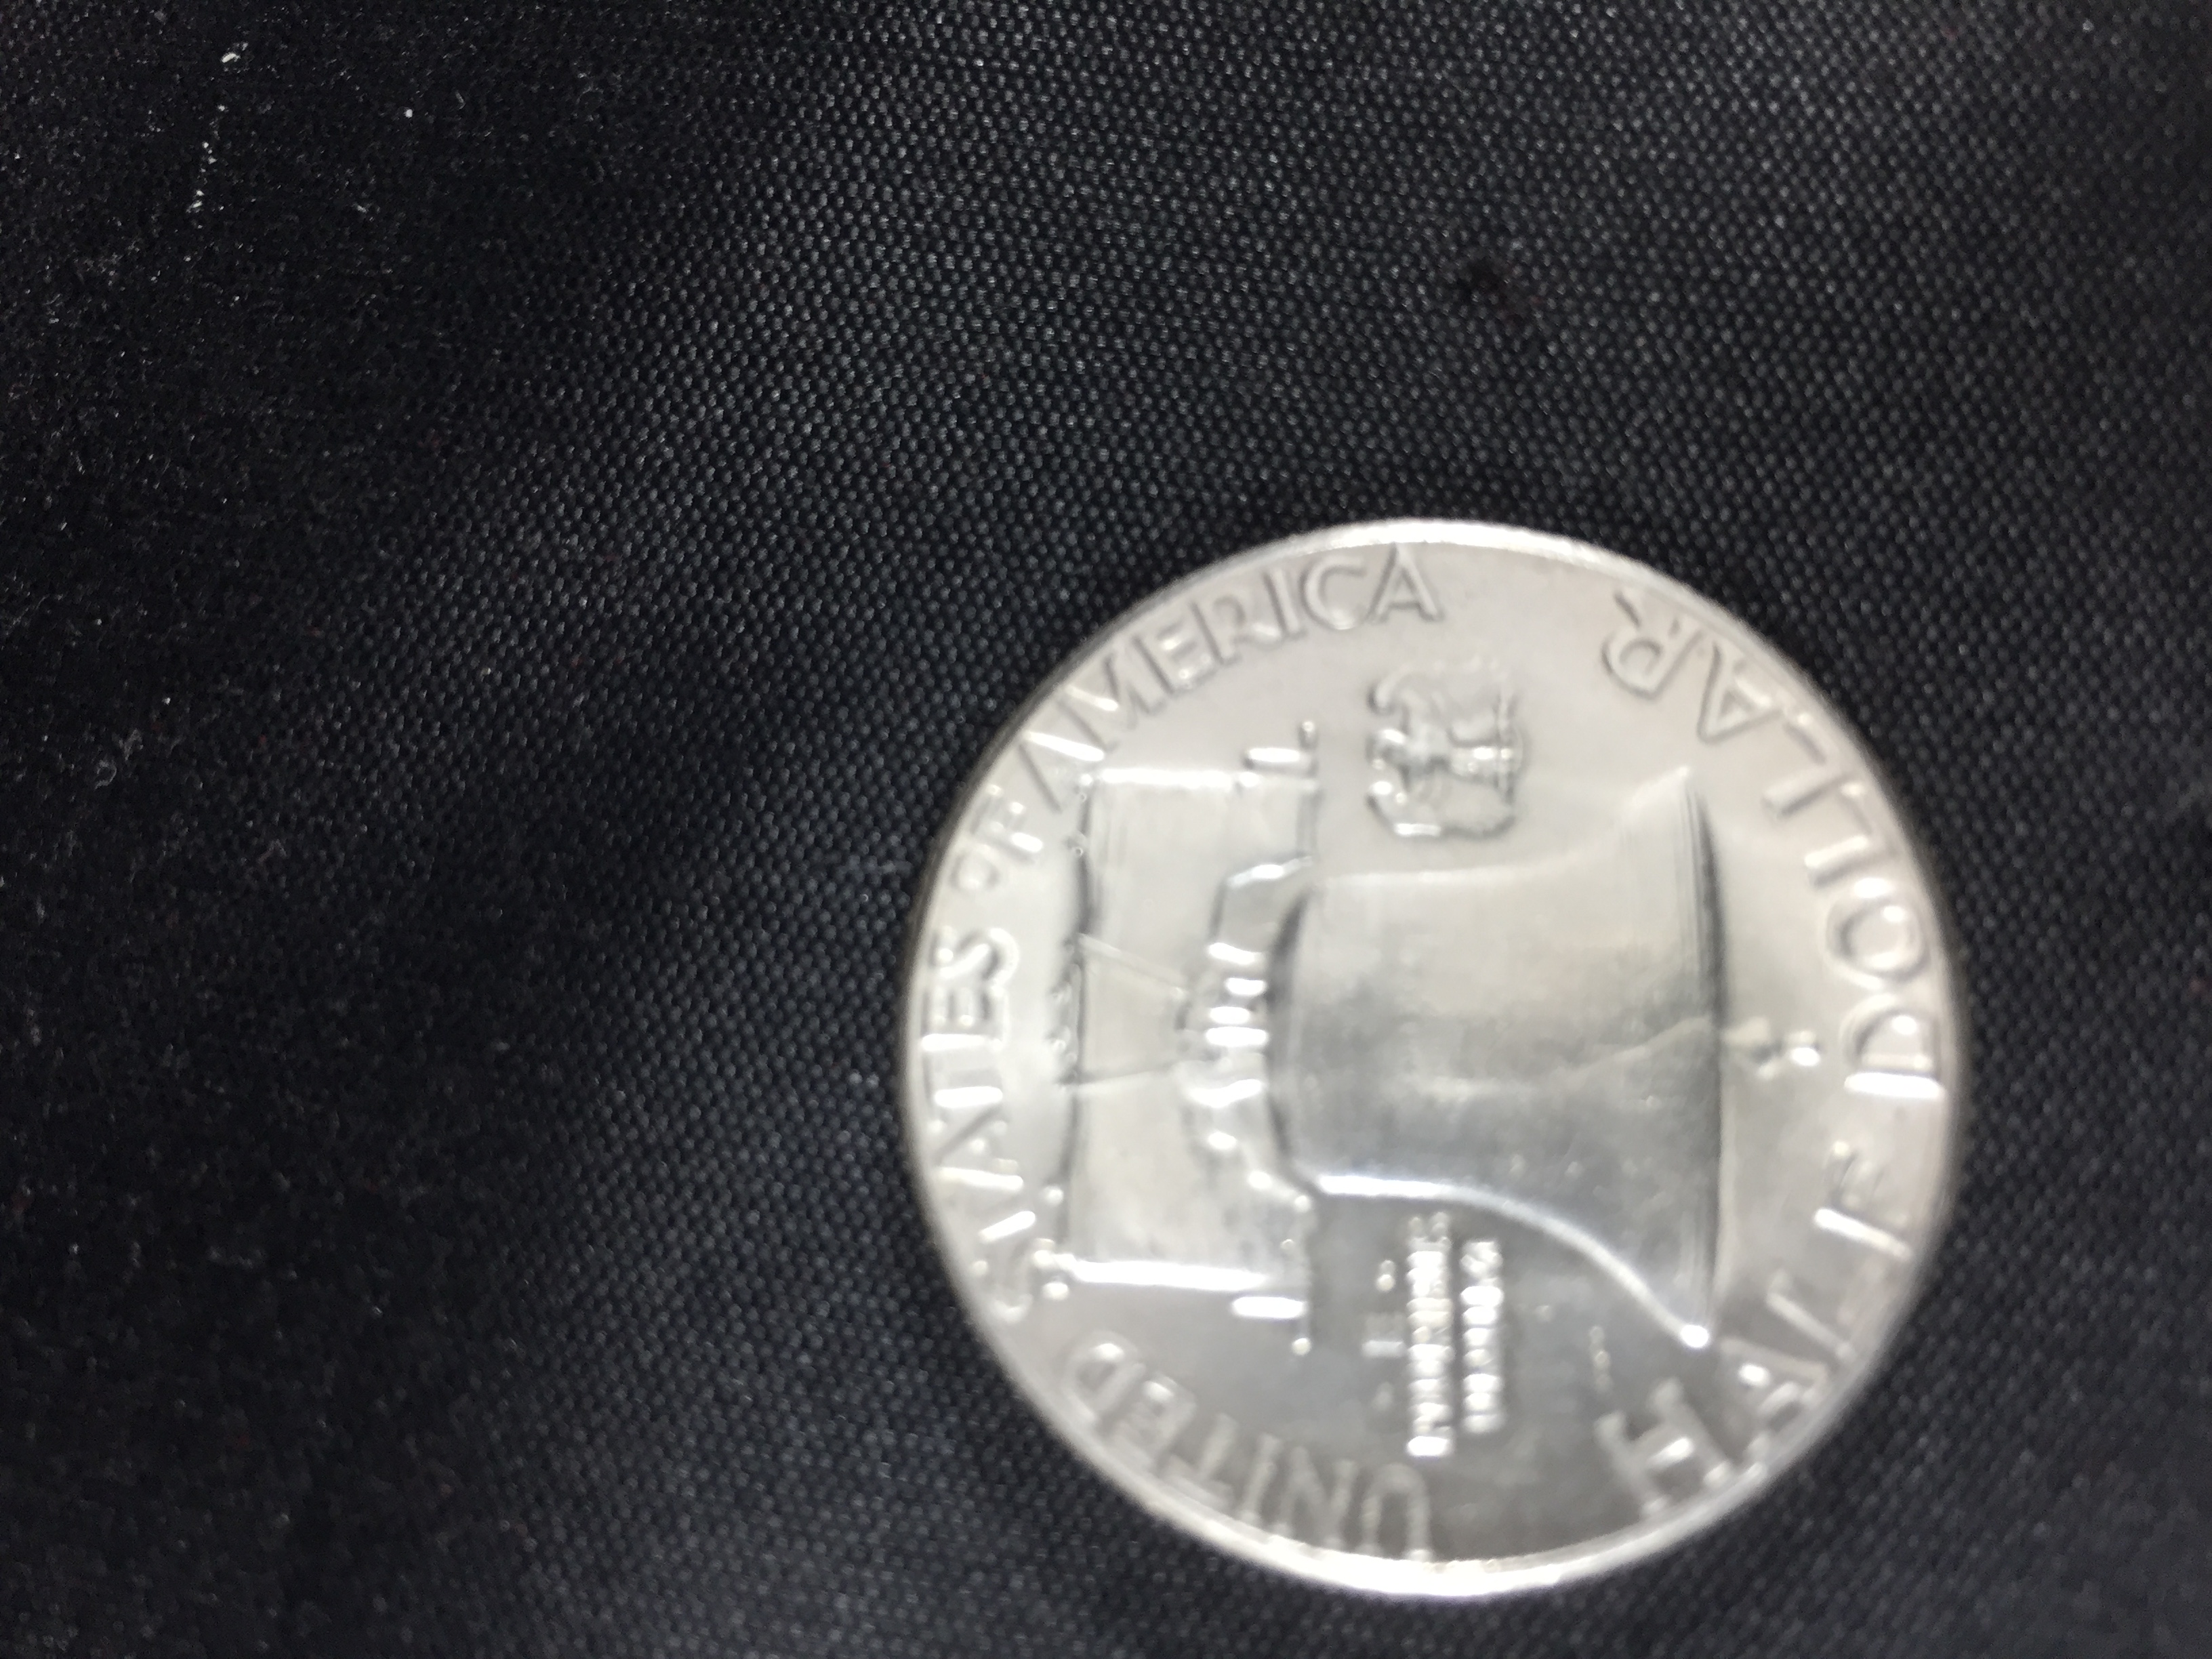 Also, the stand is designed so that you can see the phone screen, so it can be easily adjusted before taking the picture. This allows adjusting the phone alignment on the fly. In my case, the phone was always off a little bit, I needed it to be perfectly levelled horizontally. I solved it by building a small stand from legos which I could put on the elevated background, right under the phone, so that the phone would rest flat on it and be perfectly aligned.
Now I needed to figure out a way to align the center of the coin with the center of the camera. My first idea was to use my ear buds to hang at the edge of the phone and place the center of the coin right below where the ear bud touches the background, but it still left some room for error, so I went back to the lego box, and used a small lego pole to place between the center of the coin and the center of the camera. When the pole is vertical, the alignment is approximately ok. There’s no way to make this more accurate with this setup, but it seems sufficient.
The end result is this:

I know much more about photography than I did before, and I found it very interesting.
I understand less about photography, the concepts I have learned made it so much more confusing, and I cannot apply my theoretical knowledge to it.
If all goes well and I don’t make a mistake during the setup, I am able to take a photo alone which has a reasonable quality to show. However, given that any number of things can go wrong, a change in lighting, an accidental misplacement of the coin, etc., if I need to create a picture that is important for any reason, I will still have to ask for help to make sure that it turned out ok. However, even with scanning the coin it is the same situation. I have learned through my life that if I can’t see something, I can’t automatically assume that it looks good.

